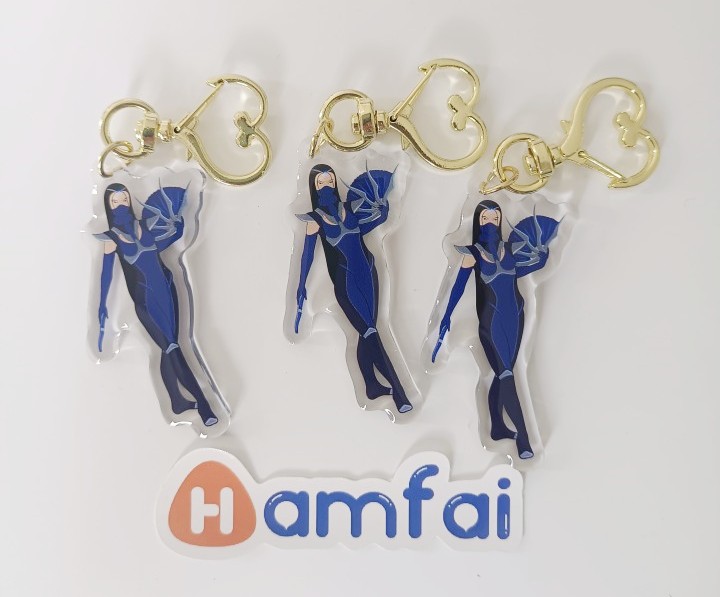
A Step by Step Guide on How to Make Acrylic Keychains at Home

How to Make Acrylic Keychains
Are you looking for a fun and creative way to accessorize your keys or create personalized gifts for friends and family? Look no further! In this detailed tutorial, we’ll walk you through the exciting process of how to make acrylic keychains from the comfort of your own home. Get ready to add a touch of uniqueness to your everyday carry with these charming and durable accessories.
Introduction to Acrylic Keychains
Acrylic keychains have gained immense popularity due to their versatility, durability, and the endless customization possibilities they offer. Made from high-quality acrylic sheets, these keychains are not only visually appealing but also resistant to wear and tear, ensuring your designs stay vibrant and intact for years to come.
Materials You’ll Need:
- Acrylic sheets in your preferred colors
- Keychain hardware (rings, clasps, and jump rings)
- Design templates or printed designs
- Cutting machine (like a Cricut or laser cutter) or a craft knife
- Acetone or rubbing alcohol for cleaning
- Clear epoxy resin or double-sided tape for sealing
- Hole punch or drill with a small bit
- Safety goggles and gloves
Step 1: Design and Preparation
Start by sketching or designing your keychain artwork using graphic design software. Keep in mind the size limitations and ensure your design is suitable for cutting. Once finalized, print or prepare the design to be transferred onto the acrylic sheet.
Step 2: Cutting the Acrylic Sheets
Using your cutting machine or a steady hand with a craft knife, carefully cut out the designed shapes from the acrylic sheets. Always follow safety precautions, wearing goggles and gloves to protect yourself from sharp edges and debris.
Step 3: Cleaning and Polishing
Clean both sides of the cut acrylic pieces with acetone or rubbing alcohol to remove any dust or fingerprints. This step ensures a clear finish when assembling your keychain.
Step 4: Adding Holes and Assembling
Punch or drill a small hole at the top of each acrylic shape where the keychain hardware will attach. Thread your chosen keychain hardware through the hole, attaching clasps and jump rings as necessary.
Step 5: Sealing and Finishing Touches
To give your keychain a professional look and ensure longevity, apply a thin layer of clear epoxy resin over the design side of the acrylic. Alternatively, you can use double-sided tape between two identical acrylic pieces to sandwich and seal your design. Allow the resin or adhesive to dry completely according to the manufacturer’s instructions.
Customization Tips:
- Experiment with different colors and patterns.
- Add glitter, sequins, or tiny charms between acrylic layers for a unique touch.
- Personalize with names, initials, or special dates for custom gifts.
Conclusion:
Creating your own acrylic keychains not only adds a personal touch to your belongings but also opens up a world of gifting opportunities. With this step-by-step guide, you now have the skills to craft unique and stylish keychains that reflect your personality and creativity. So why wait? Gather your materials and start your DIY adventure today!
Remember to share your creations on social media using relevant hashtags to inspire others and showcase your handmade treasures. Happy crafting!
Of course, if you need to make a small batch, but you lack the relevant materials and time to do so, you are welcome to place an order from our store.

